Introduction
ELK Stack is a monitoring tool that uses elasticsearch to collect system metrics and logs, Kibana to visualise the data, and filebeat to ship logs and metricbeat to ship hardware utilisation in elasticsearch..
System Requirement
- Hostname – elk-server
- IP – 192.168.0.10
- Memory – 4 GB
- OS – ubuntu 16.04
- Hostname – elk-client
- IP – 192.168.0.11
- OS – ubuntu 16.04
In this blog, we will instal and configure elasticsearch with Kibana. Logstach is optional to install, but we will go without it using Ubuntu 18.04 LTS.
Step 1: Installing JAVA
You need to install java before installation of elasticsearch by following the commands using root privileges.
sudo -i
apt-get update
apt-get install default-jdk -y
Step 2: Installing elasticsearch
To install elasticsearch you need download .deb file from the official portal of elk stack use the following commands.
cd /tmp/
wget https://artifacts.elastic.co/downloads/elasticsearch/elasticsearch-7.5.0-amd64.deb
chmod +x elasticsearch-7.5.0-amd64.deb
dpkg -i elasticsearch-7.5.0-amd64.deb
systemctl start elasticsearch
Verify the elasticsearch service using the following commands.
curl -XGET 'localhost:9200/?pretty'You should get output like this.
root@elk-server:/tmp# curl -XGET ‘localhost:9200/?pretty’
{
  “name” : “Ansible”,
  “cluster_name” : “elasticsearch”,
  “cluster_uuid” : “UufXOu1TRMm-Ti9J8wr3-A”,
  “version” : {
    “number” : “7.5.0”,
    “build_flavor” : “default”,
    “build_type” : “deb”,
    “build_hash” : “e9ccaed468e2fac2275a3761849cbee64b39519f”,
    “build_date” : “2019-11-26T01:06:52.518245Z”,
    “build_snapshot” : false,
    “lucene_version” : “8.3.0”,
    “minimum_wire_compatibility_version” : “6.8.0”,
    “minimum_index_compatibility_version” : “6.0.0-beta1”
  },
  “tagline” : “You Know, for Search”
}
Step 3: Installing Kibana
Download and install the kibana using the following the commands.
wget https://artifacts.elastic.co/downloads/kibana/kibana-7.5.0-amd64.deb
chmod +x kibana-7.5.0-amd64.deb
dpkg -i kibana-7.5.0-amd64.deb
Now edit the kibana.yml configuration file and uncomment the given param.
nano /etc/kibana/kibana.yml
Uncomment the given param.
server.port: 5601
server.host: "localhost"
elasticsearch.hosts: ["http://localhost:9200"]
Save and exit from nano editor.
To enable Kibana service on system boot time.
systemctl enable kibanaTo start the Kibana service.
systemctl start kibanaStep 4: Installing Metricbeat
Download and install the metricbeat and filebeat using the following the commands.
wget https://artifacts.elastic.co/downloads/beats/metricbeat/metricbeat-7.5.0-amd64.deb
chmod +x metricbeat-7.5.0-amd64.deb
dpkg -i metricbeat-7.5.0-amd64.deb
systemctl start metricbeat && systemctl enable metricbeat
wget https://artifacts.elastic.co/downloads/beats/filebeat/filebeat-7.5.0-amd64.deb
chomd+x filebeat-7.5.0-amd64.deb
dpkg -i filebeat-7.5.0-amd64.deb
systemctl start filebeat && systemctl enable filebeat
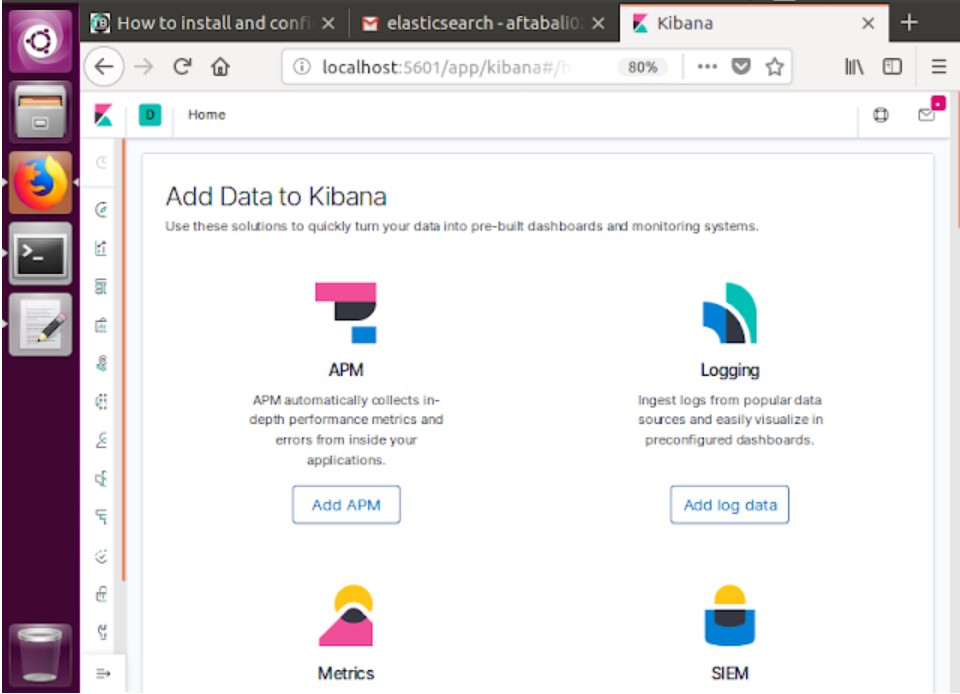
Open your http://localhost:5601 in favorite browser and You need to set indexes name for metricbeat and filebeat
metricbeat-*filebeat-*


Elasticsearch, Kibana, metricbeat and Filebeat configuration completed.
Step 5: Secure elsaticseach and Kibana
You need to set username and password for elasticsearch and kibana to allow network machines.
To install nginx and apache2-utils.
apt-get install -y nginx apache2-utils
To enable basic auth with elasticsearch.
nano /etc/nginx/sites-available/elasticsearch.conf
Paste the following code.
server {
    listen 9201;

    server_name localhost;

    auth_basic “Restricted Access”;
    auth_basic_user_file /etc/nginx/.elasticsearch;

    location / {
        proxy_pass http://localhost:9200;
    }
}
Set username and password for elasticsearch using nginx reverse proxy.
htpasswd -c /etc/nginx/.elasticsearch elasticsearch
ln -s /etc/nginx/sites-available/elasticsearch.conf /etc/nginx/sites-enabled/
Securing Kibana with with nginx reverse proxy, Use the following command for the same.
nano /etc/nginx/sites-available/kibana.conf
Paste the following command.
server {
    listen 5602;

    server_name localhost;

    auth_basic “Restricted Access”;
    auth_basic_user_file /etc/nginx/.kibana;

    location / {
        proxy_pass http://localhost:5601;
        proxy_http_version 1.1;
        proxy_set_header Upgrade $http_upgrade;
        proxy_set_header Connection ‘upgrade’;
        proxy_set_header Host $host;
        proxy_cache_bypass $http_upgrade;
    }
}
Enable the Kibana basic auth.
htpasswd -c /etc/nginx/.kibana kibana
ln -s /etc/nginx/sites-available/kibana.conf /etc/nginx/sites-enabled/
Verify the nginx configuration.
systemctl restart nginx && systemctl enable nginx
On Clinet side server side installation and configuration.
Step 6: Configure Client Machine
Download and install the metricbeat and filebeat using the following the commands.
sudo -i
cd /tmp/
wget https://artifacts.elastic.co/downloads/beats/metricbeat/metricbeat-7.5.0-amd64.deb
chmod +x metricbeat-7.5.0-amd64.deb
dpkg -i metricbeat-7.5.0-amd64.deb
Step 7: Update Metricbeat configuration
Update the elasticsearch reverse-porxy ip, port, username and Password.
nano /etc/metricbeat/metricbeat.yml
update the elasticsearch reverse-porxy ip, port, username and Password.
systemctl start metricbeat && systemctl enable metricbeat
wget https://artifacts.elastic.co/downloads/beats/filebeat/filebeat-7.5.0-amd64.deb
chomd+x filebeat-7.5.0-amd64.deb
dpkg -i filebeat-7.5.0-amd64.deb
vim /etc/filebeat/filebeat.yml
update the elasticsearch reverse-porxy ip, port, username and Password.
systemctl start filebeat && systemctl enable filebeat
Verify the kibana portal of new host data .

Conclusion
We have successfully installed elk-stack on Ubuntu 18.04 LTS Kindly report in case you are facing difficulties with following details.
- OS name
- OS version
- Package name
- Logs – Error / Warning / failed
Nice tutorial, it help me to understand
Okay.
Clean steps, Thanks