
Jenkins is an free and open source automation server, Jenkins use for to automate the task using bash script and other scripting language like python, ruby and more.
sudo apt-get update
sudo apt-get upgrade -ysudo apt-get install openjdk-8-jdk -yYou need to add jenkins’s repo by following the commands using root privileges.
sudo wget -q -O - https://pkg.jenkins.io/debian/jenkins.io.key | sudo apt-key add - Step 4: Adding source list for Jenkins
After this need to add sources.list by using the commands.
sudo sh -c 'echo deb http://pkg.jenkins.io/debian-stable binary/ > /etc/apt/sources.list.d/jenkins.list'
Step 5: Installation of Jenkins
You need to update the ubuntu repo and install the Jenkins by following the commands
sudo apt-get update
sudo apt-get install jenkins -yStep 6: Get Jenkins Services
After installation of Jenkins packages on the machine, You need to verify the service by using the following command.
sudo systemctl status jenkins
By default Jenkins work on port 8080, If you have ufw firewall enabled on your machine so you need to allow the port 8080 in ufw firewall by using the commands.
sudo ufw statussudo ufw allow 8080Step 8: Jenkins Setup
You need to open the browser with your Jenkins server IP like this http://IP-address:8080, You will get this web page, Here you need to do some steps, In the terminal window, we’ll use the cat command to display the password:
sudo cat /var/lib/jenkins/secrets/initialAdminPassword

and paste the Administrator password to get next steps.

After this you will be asked for some plugin you can choose according to your requirements.


Step 9: User Creation
You may be required a another user in Jenkins to do create pipeline and jobs, You need to click on manager jenkins button, As showing in the screenshot.

After that you should get the Jenkins new webpage, Now you need to click on manage user button.

By default, I have only 1 root user to create new user in jenkins, You need to click on create user button as showing in the screenshot.
You should get the new user creation web page, Fill the user required information and click on create user button.

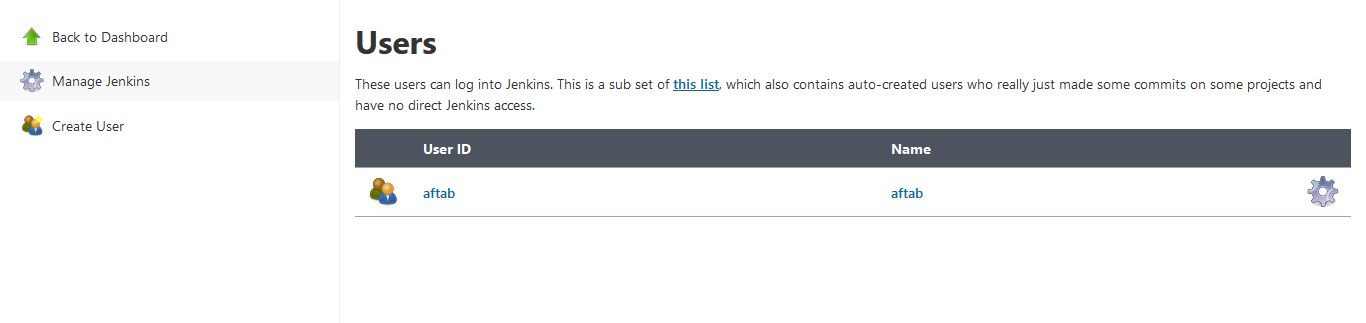
Now new jenkins’s user added successfully, By default this user has root permission, In case you want assign limited permission So you need to enable matrix based permission, Lets verify created user go to the Manage Jenkins and after that click on Manage User to get the all the users details, Here can delete the user as well.

In this post, you have figured out how to introduce and play out the underlying arrangement of Jenkins. You would now be able to begin investigating Jenkins highlights by visiting the authority Jenkins documentation page.
awesome
Hmm.