Azure Resource group contains the assets needed to effectively convey a vSRX VM in Azure. It is a compartment that holds related assets for an Azure arrangement. In Azure, you sensibly bunch related assets, for example, stockpiling accounts, virtual organizations, and virtual machines (VMs) to send, oversee, and keep up them as a solitary element.
To create a resource group, Please follow the below steps :-
Step 1: You need to login in your Microsoft Azure portal and utilizing your Microsoft account username and secret key. Click on create a resource button as showing in screenshot.

Step 2: Now you need to type resource group in the search box to get azure resource as per showing the screenshot.


Step 3: After that you will the lots of azure resource and you can see the resource group 1st one, Click on that resource group as showing the screenshot.
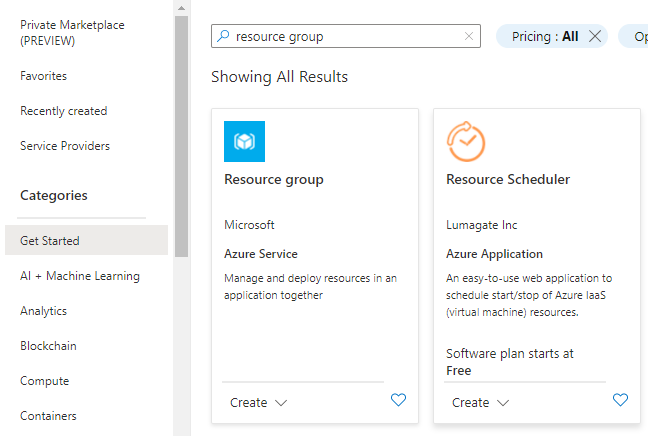
Step 4: In this step you need to simply click on create button to create a resource as showing on the screenshot.

Step 5 : Now you will the form to create a resource group, Here you need to type your own resource group name and select region to deploy it, As showing the screen shoot.
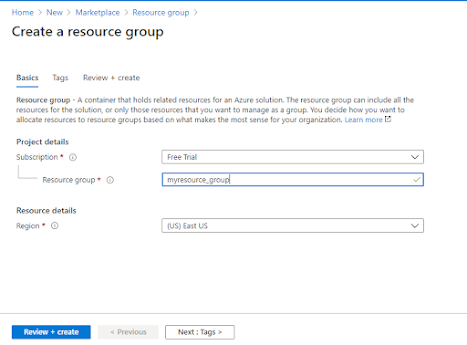

Step 6: If you click Next :Tags button so then you can create tag for your resource group as well, Helpful screenshot given below :-

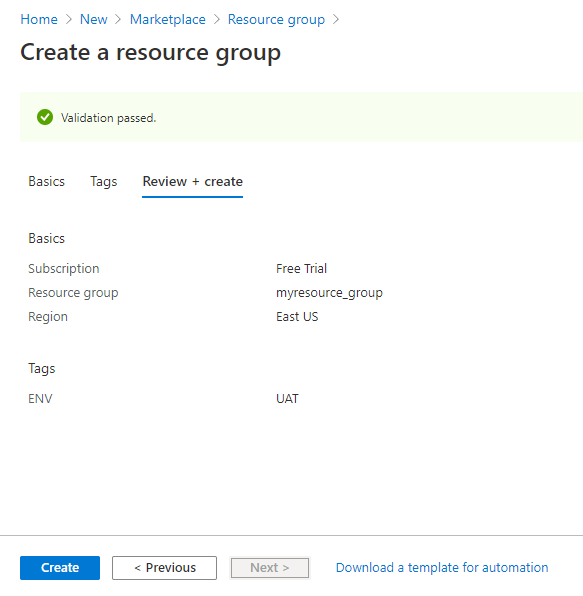
Step 7: Once you click on create so then its first the validate the inputs and create the resource for you, as showing in the screenshot.
Step 8 : After the you can see the status of your resource group created in the notification area as well, as per the screen shoot, Now you need to click on Go to the resource group button.

Step 9: Now you have came to you resource group panel and here you can see you all created resource like Vm, NSG, IP, Firewall like that.

How to create resource group in azure cloud
Cloud solutions are preferred by businesses due to higher availability and extensibility. Amazon Web Services (AWS) and Microsoft Azure are two of the most competitive cloud providers. Thank you for sharing this. Microsoft Azure Training in Chennai